Work the way you want - we love choices
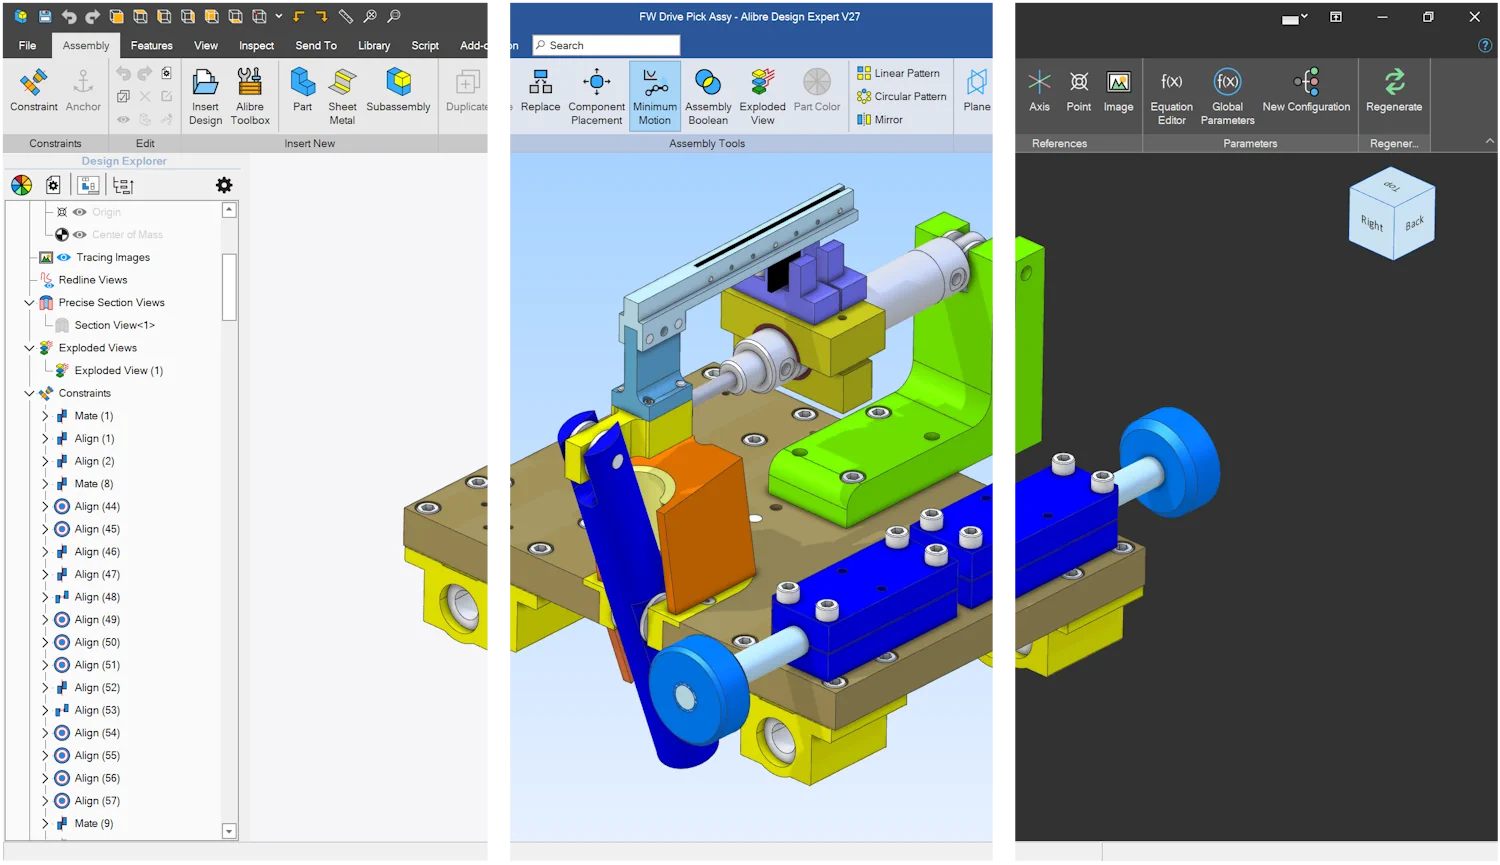
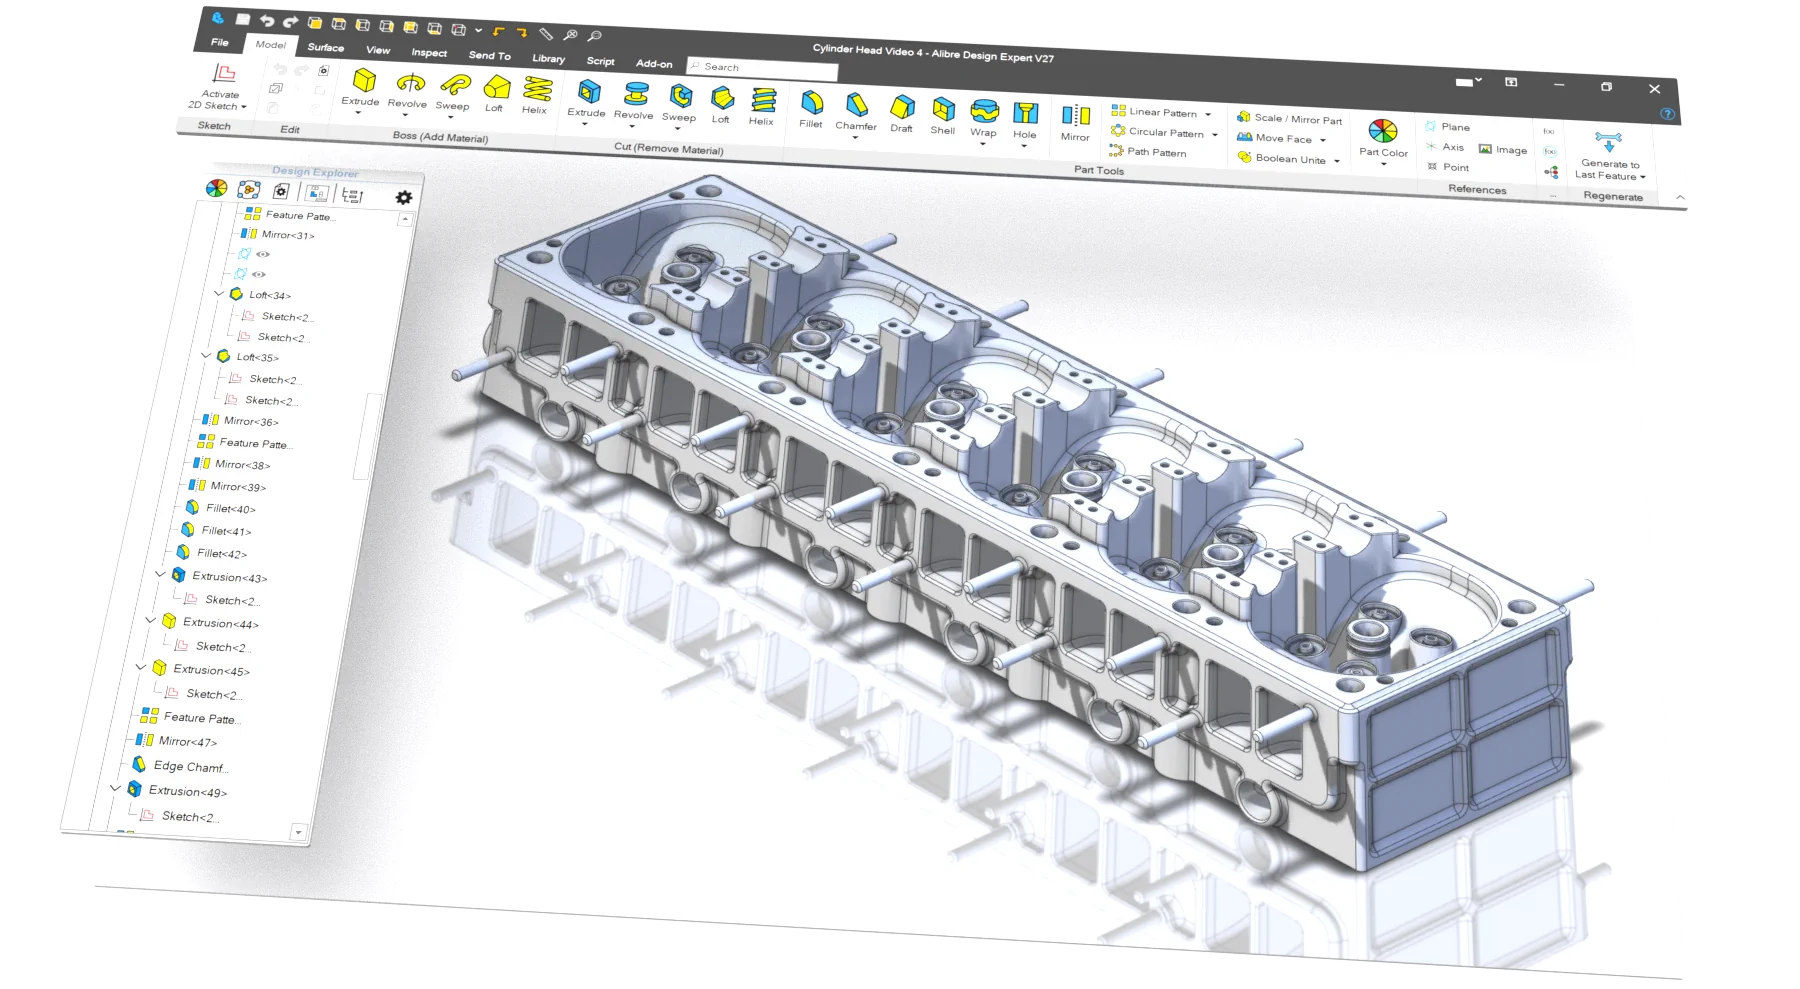
Work with one or all of the UI approaches depending on what you're used to and what makes you the most efficient.

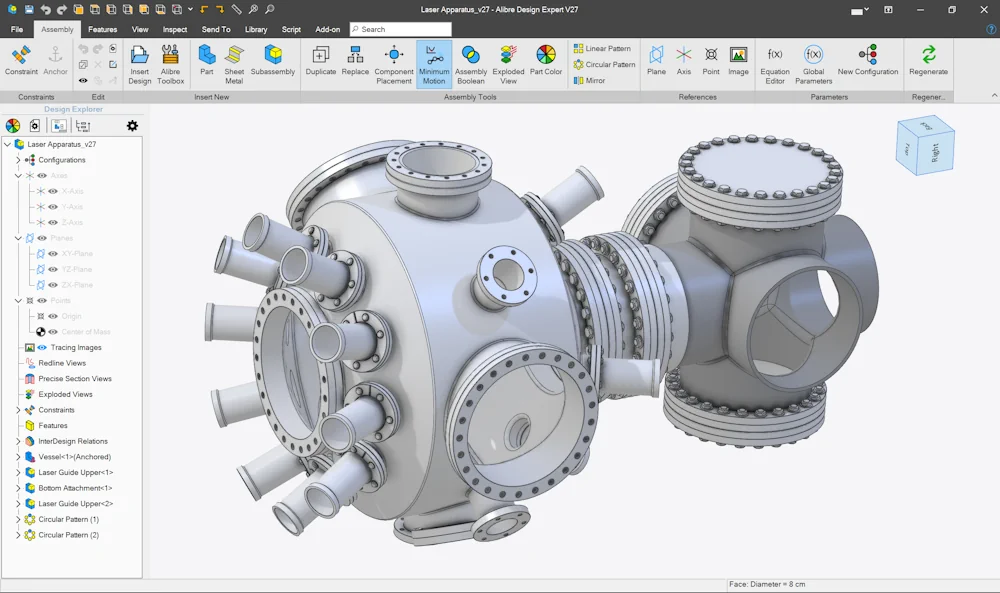
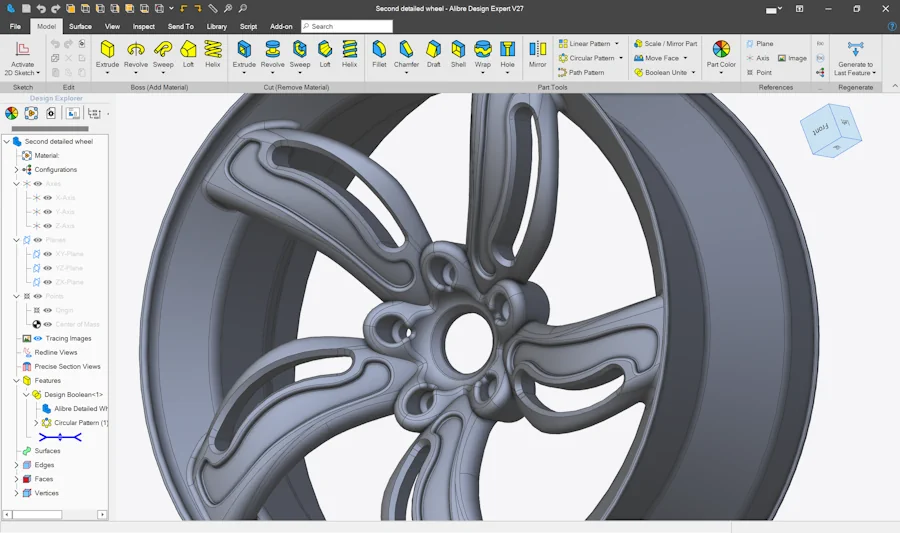
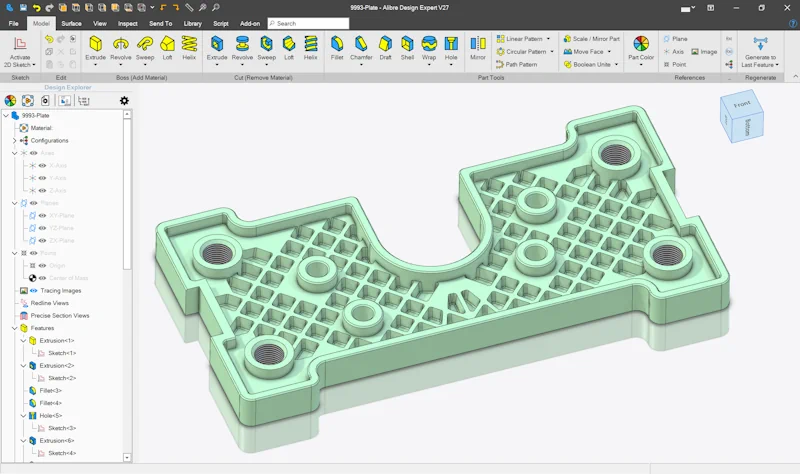
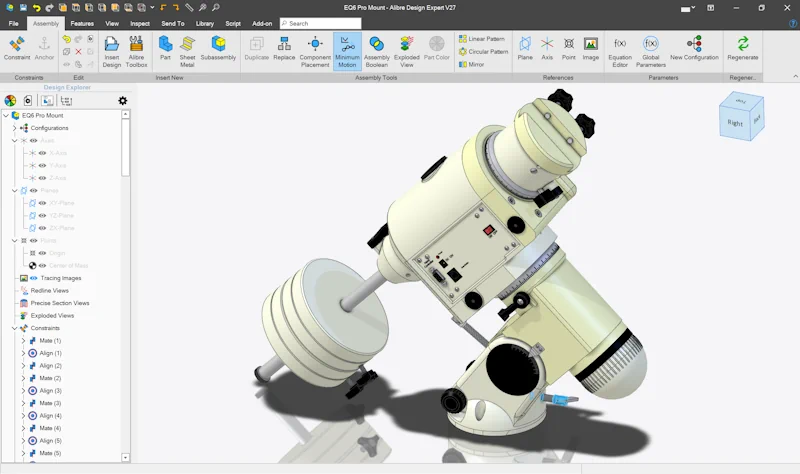
Intuitive ribbon interface if you prefer big, easy-to-find user interface objects.
Fully customizable toolbars if you prefer total control over your buttons and their locations.
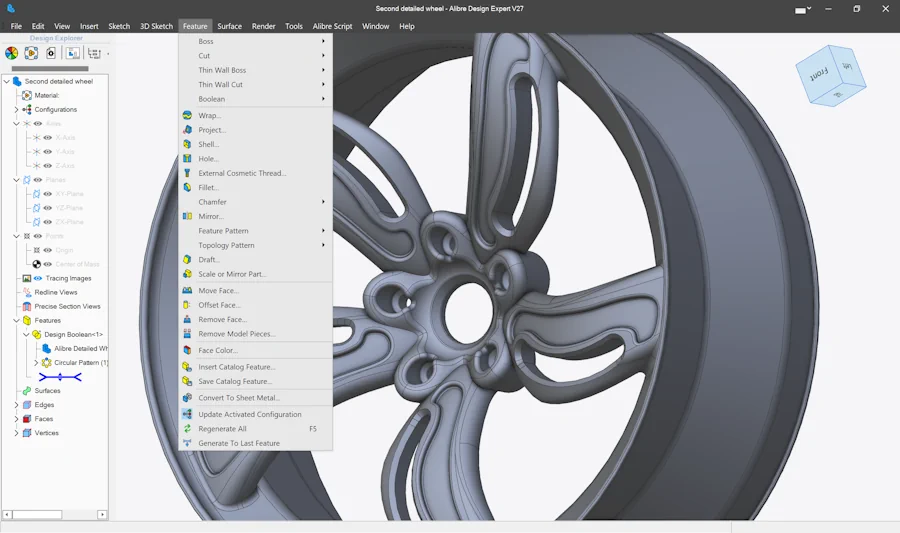
A menu system if you prefer a minimalist UI that doesn't get in your way.
You can even add our icons to your SpaceMouse or other 3rd party hardware - just ask and we'll send them to you.